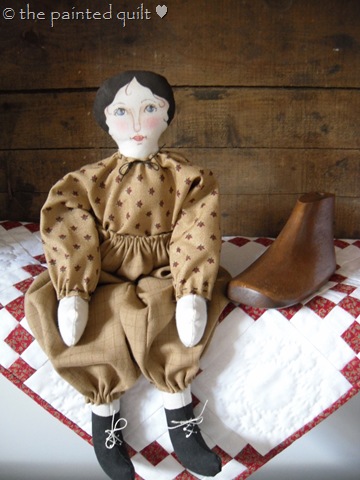
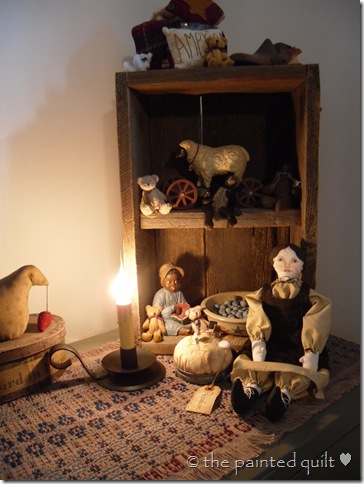
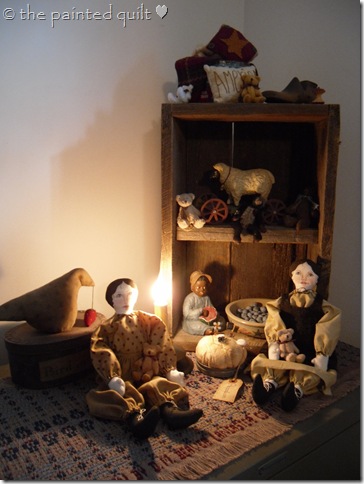
At the outset, I’d like to share with you some words of wisdom that one of my art teachers used to say to her students…”There are many ways of right”.
Now having said that, I am not saying that my way of creating a doll’s face is the ‘right’ way, but it is the way that works best for me when teaching students who have had little or no artistic training and are too insecure to even attempt a face. I promise you that if you follow the steps that I am about to share with you, your doll’s face will look as good as or better than mine.
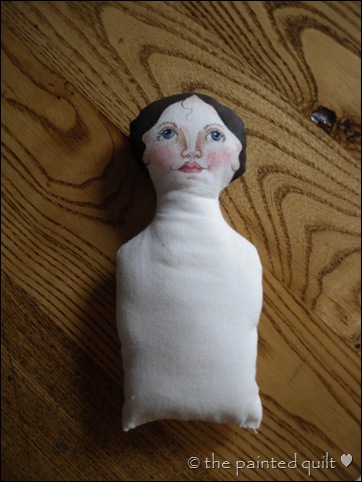
So without further ado, let’s get started. Plan to stay awhile because this tutorial is loaded with pictures and is quite long.
Supplies
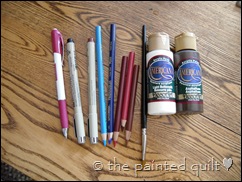
1. Tracing paper.
2. Pigma Pens, size 01 (fine) in brown and black..
3. Graphite pencil sharpened to a very sharp point and an eraser.
4. Prismacolor colored pencils in the following colors:
True Blue #903, Violet Blue #933, Crimson Red #924, Raspberry #1030 and Burnt Sienna #945.
5. Acrylic paint in dark brown and off white.
6. A paint brush suitable for acrylic paints. e.g. #8 flat
Creating The Line Drawing
Please be aware that I am working on a large face in order for you to be able to see the various steps more clearly. The exact same principle applies to any size of face.
1. Fold the piece of tracing paper in half vertically to find the center.
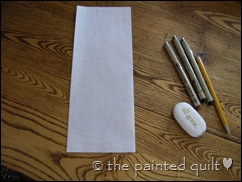
2. With a dotted line, divide the area into 1/4’s. On the left side of the vertical line ONLY, draw the outline of the head.
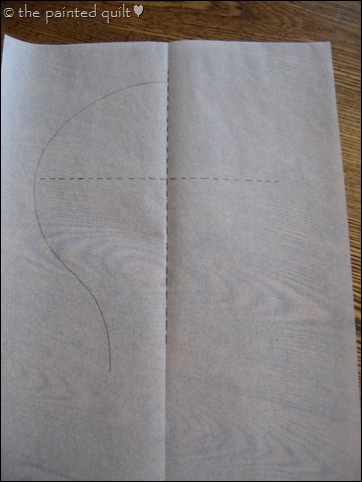
It is virtually impossible for me to try to freehand the exact shape that I just created on the opposite side of my drawing. What I’m about to show you is called “proofing” the design.
2. In order to create the exact same shape on the right side of the head as on the left, fold the tracing paper exactly along the center fold and to the left. What you see now is the original traced design through the tracing paper. Carefully trace the shape that you see through the paper onto the BACK of the folded tracing paper.
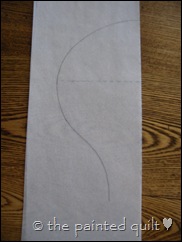
3. Open the paper so that it’s right side up and re-trace the line that you see on the back to the front. Now, both sides of the head are identical in shape and size and are symmetrical.
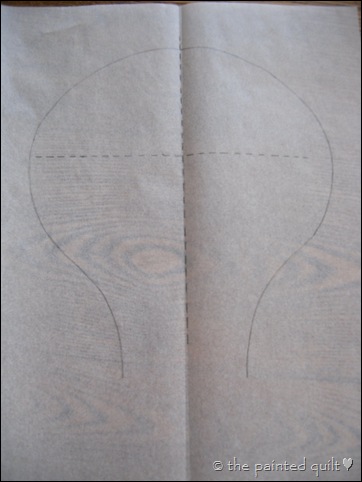
We will be repeating the proofing step every time we add a new element to the face.
4. The eyes are going to be positioned just below the center line. Draw an arc (a slightly stretched semi circle) which will represent the outline of the eye.
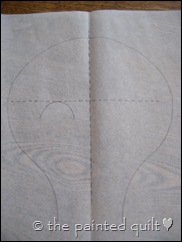
Repeating what we did in steps 2 and 3, fold the tracing paper to the left on the center fold so that the backside of the paper is facing up and the lines representing the head are lined up precisely on top of one another. Now trace the outline of the eyelid that you see through the paper.
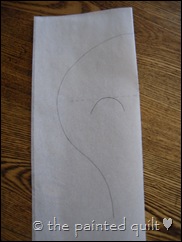
Unfold the paper and re-trace the line that you just made on the back onto the front.
5. Draw the eyeball and iris centered within the outline of the eye. The upper lid line will be positioned just above the horizontal dotted line. The ‘top’ of the eyeball should appear to be buried just under the upper lid. In other words, you shouldn’t see two whole circles.
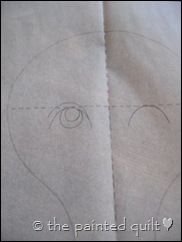
Create the right eye by following the same steps as above, making sure that when you fold the paper over that everything is lined up exactly on top of the previous lines in order to create the symmetry.
6. Add the eyebrow. A common mistake is to make the eyebrows too long. Center them over the eyeball and extend them ever so slightly.
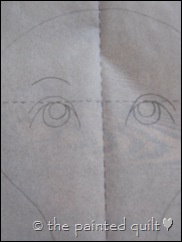
Complete each element individually as you draw them. As an example, complete both eyebrows before proceeding to the next step which will be the nose. In this way you will be able to see if you like the position and how each element looks. Make any necessary adjustments as you progress.
7. Add the nostrils.
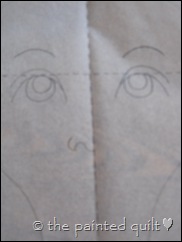
Proof it…
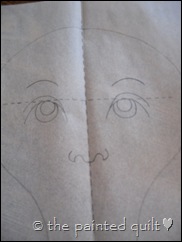
8. Then add the center lip line.
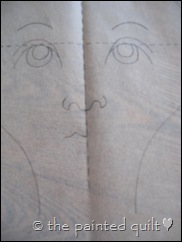
Proof it…
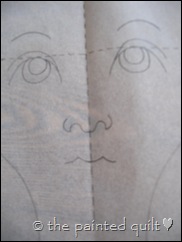
Then add the upper and lower lip lines.
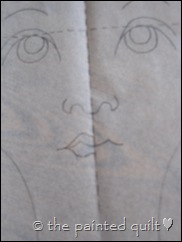
Proof them and at the same time, add a small arc suggesting the outline of the chin and the smile dimple.

9. Then add the bridge to the nose…
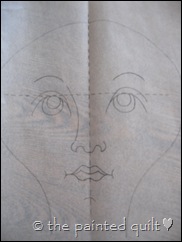
And proof all elements that you just added.
10. Add the eyelashes and the outside corners to the lower eyelid. The eyelashes should be very tiny as this is a primitive or vintage-looking face and you don’t want your doll to look like a “painted” lady. Also there is NO bottom eyelid…just the suggestion at the corners.
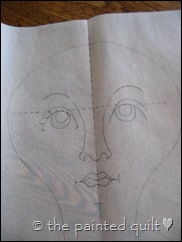
Proof them…
11. Then add the hair outline.
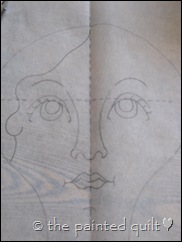
Proof it. And voila…
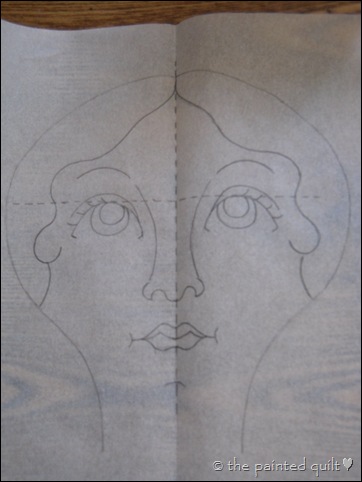
You’ve drawn your first face!
Transferring The Design
1. Using a light box or a window during daylight hours as a light source, lightly trace the pattern that you’ve created onto the right side of your fabric with a very sharp pencil and a light hand. The reason why you want the pencil to be sharp is because you want a very fine line.
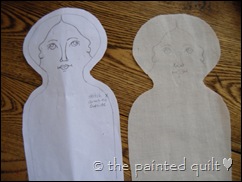
13. Sew the head and body part of the doll together and stuff it before proceeding. It is easier to create the face after it is stuffed.
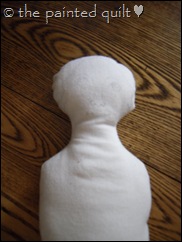
Now comes the fun part…bringing her to life!
Adding Color To The Face
1. Verl lightly outline all the lines that you had previously traced in pencil using the brown Pigma pen.
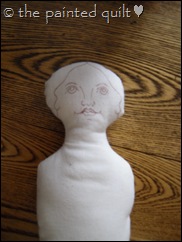
2. With the black Pigma pen, color in the pupils of the eyes.
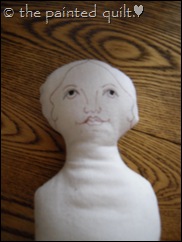
3. Color in the irises of the eyes with the Prismacolor True Blue. Re-line the upper lids and irises with the black Pigma pen. VERY lightly, add the SHORT eyelashes with the black pen as well.
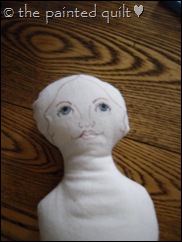
4. Lightly fill in the lips with Crimson Red.
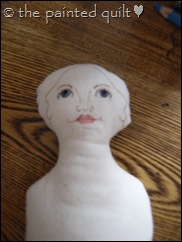
5. Shade or strengthen the color under the upper lip line with Raspberry and the left side ONLY of the irises with Violet Blue.
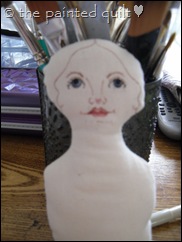
6. Holding the shaft of the pencil sideways so that you’re coloring with the side and not the tip of the lead, shade on either side of the nose and nostrils with Burnt Sienna…
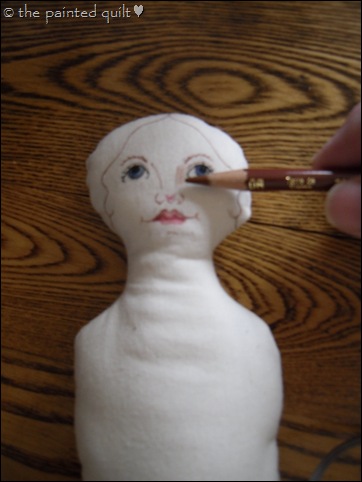
And referring to the photo, add shading to the nostril openings, on top of the line above the upper eyelid, the smile lines, the chin line and all around the face against the hair line. Remember to add the color with a light touch because you can always go back and add more.
Tip: When coloring with the side of the lead, it is easier to apply the color in a circular rather than an up and down motion. The color should always be darker against the element you are shading and allow it to fade the further away you travel with the color simply by lightening your touch.
Add a little blush to her cheeks in the same manner with Crimson Red.
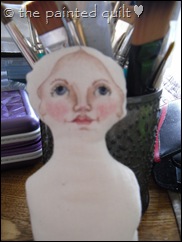
7. Paint the hair with the dark brown acrylic paint.
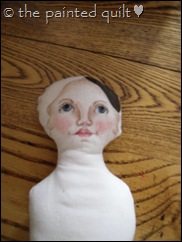
8. Add the loose strand of hair with the brown Pigma pen. The highlight in the eye is created by dipping the sharp end of a toothpick into the off white paint and placing a dot IN THE SAME PLACE in both eyes. In my example, I placed the highlight glints in the upper left quadrant of the eyes where the pupil and iris meet. Using the toothpick and the same off white, I also applied a very fine line IN THE SAME PLACE on both eyes to the lower right quadrant of the iris. This is known as the reflected light highlight.

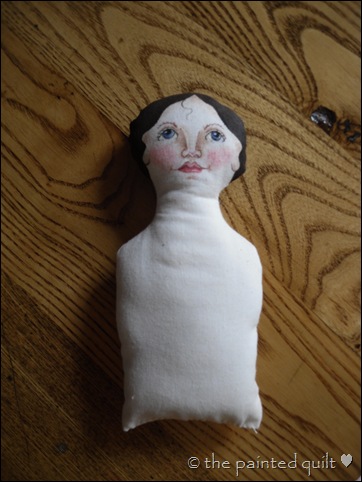
And there you have it…a completed doll’s face.
If you take it step-by-step and not try to take any short cuts, it’ll be just as easy as it looks. The most common mistake that people make is trying to draw the entire face freehand and hope that the both sides align and match up. This is virtually impossible to do, even by the most accomplished artist.
The ‘proof’ is in the pudding. Take the time to ‘proof’ each step as you go. By doing this, it’s actually fool-‘proof’. *wink*

Remember at the beginning when I said that “there are many ways of right”?
I choose not to include a lower lid line in my faces, simply because it gives a softer overall look to a face. A common mistake that occurs when adding a lower eyelid is to add some white between the eyeball and the lower lid. If you look at yourself in the mirror, you cannot see white either above or below your eyeball…not unless you stick your finger in an electrical socket, i.e. Yikes!
For those of you that might be viewing this for the first time, you can download a PDF file which includes the pattern to make this doll
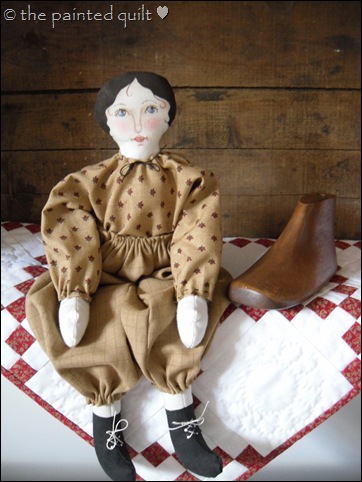
here.

I hope that this tutorial gives you the confidence to try to create your own doll’s face. So what do you think? Are you going to give it a try?
Happy stitching!
Kaaren ♥
![]()

