
They're the ones who taught me and I encourage you to watch and "study" what they have to say because I'm sure that you'll find the process just as easy to learn as I did.

To watch Part 1 by Julie Thomas of The Old Tattered Flag, click HERE for the link.
Part 2 continues HERE.
Did you watch them? Piece of cake, huh?
All you need are the proper tools...a punch needle tool of your choice (mine is a Cameo), floss or thread (I used Valdani 12 wt for mine for the actual punch needle design and Valdani 6 strand embroidery floss for the whipped edge), the proper hoop and weaver's cloth. Weaver's cloth was recommended to me because it can withstand the punching or piercing without breaking the threads or weave of the fabric and leaving a hole.
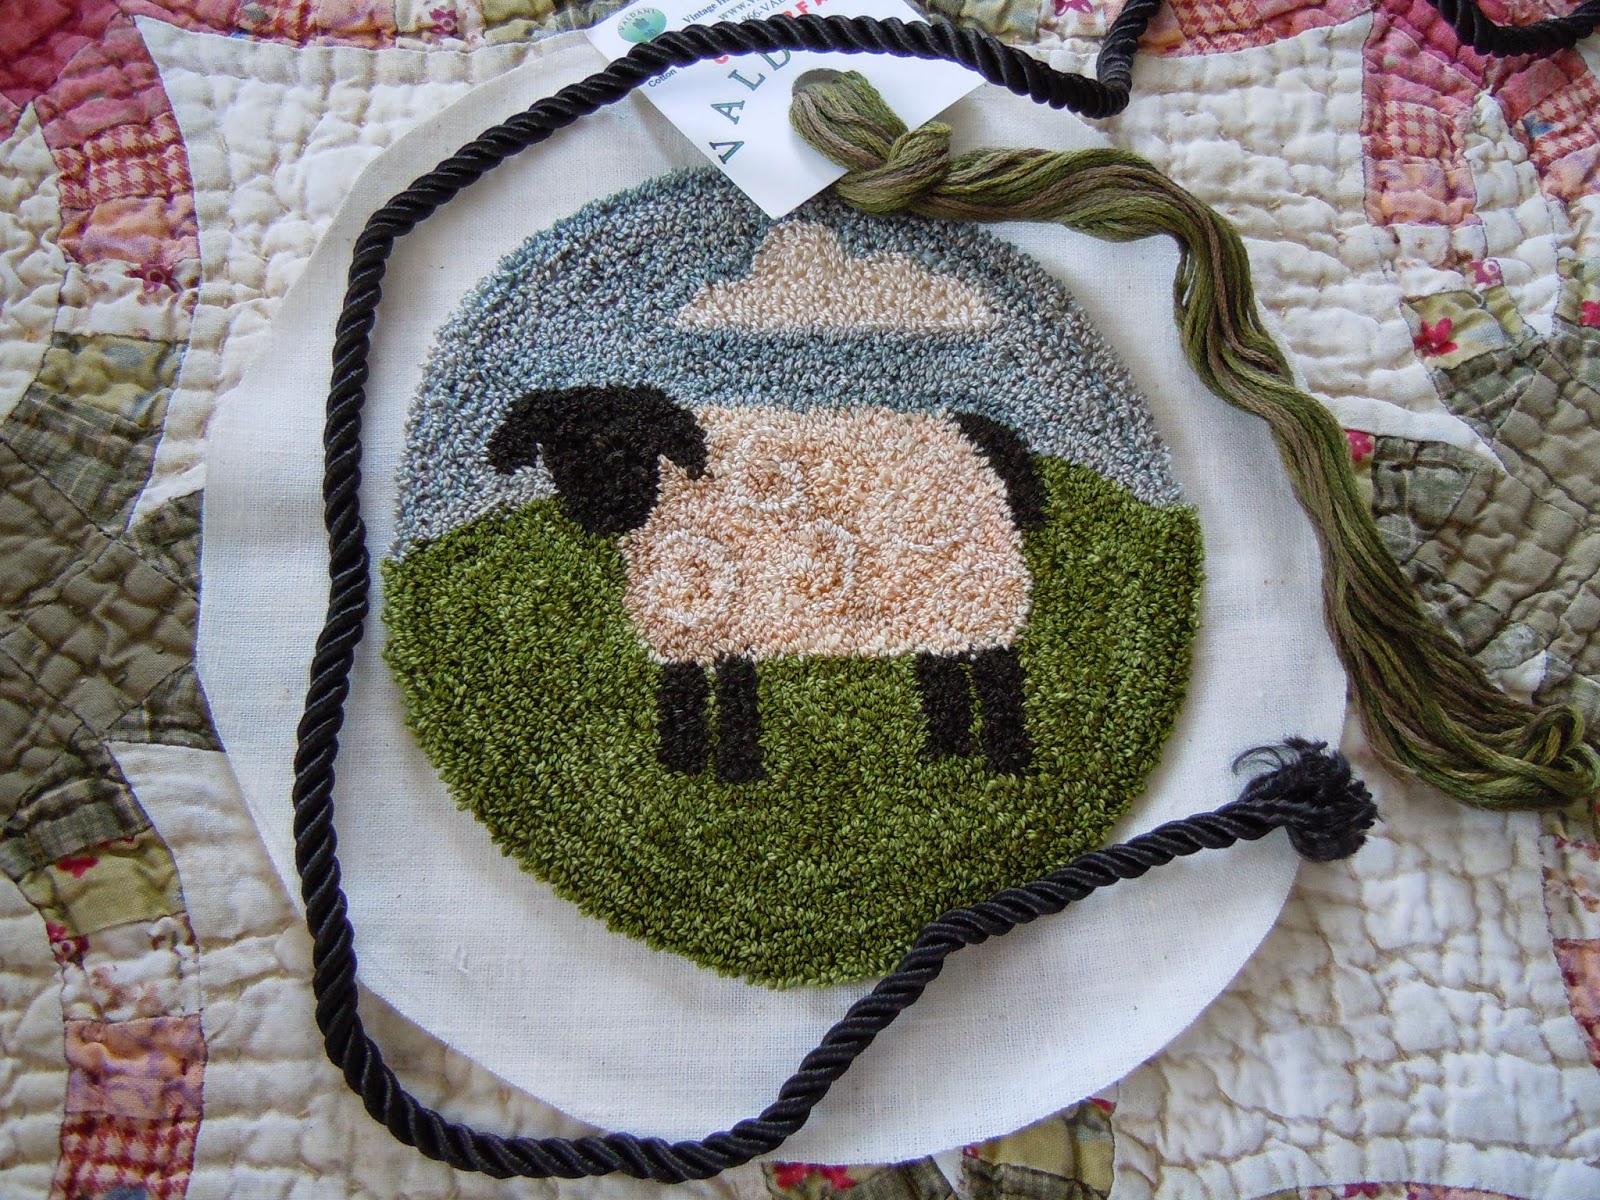
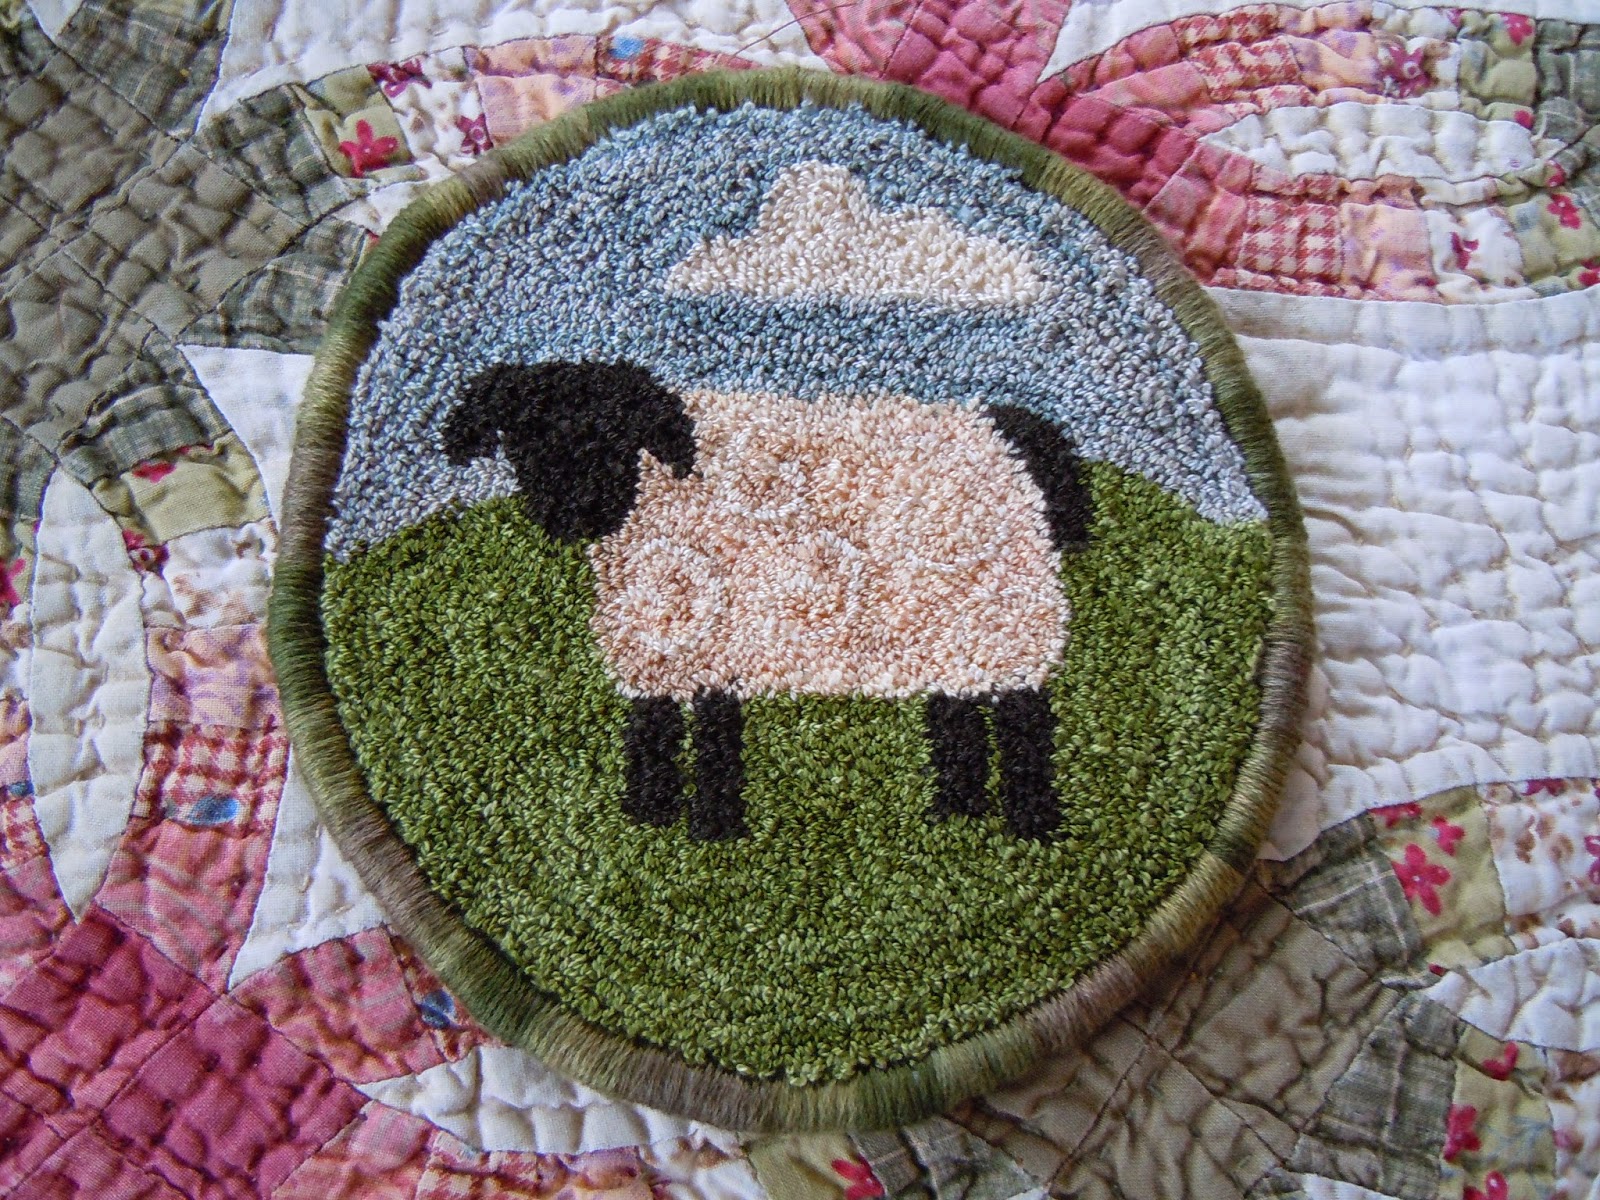
I watched both Part 1 and 2 a couple of times until I felt comfortable with the technique. The thing to remember is that you're working from the reverse side of the fabric so that's where your pattern has to be traced and in reverse as well. The "loops" or texture of the punch needle appear on the front and what you see on the back are the close-cropped "stitches" as you can see in my sample below with the sheep's curls.

My tutorial is going to show you what I made with my finished punch needle design.

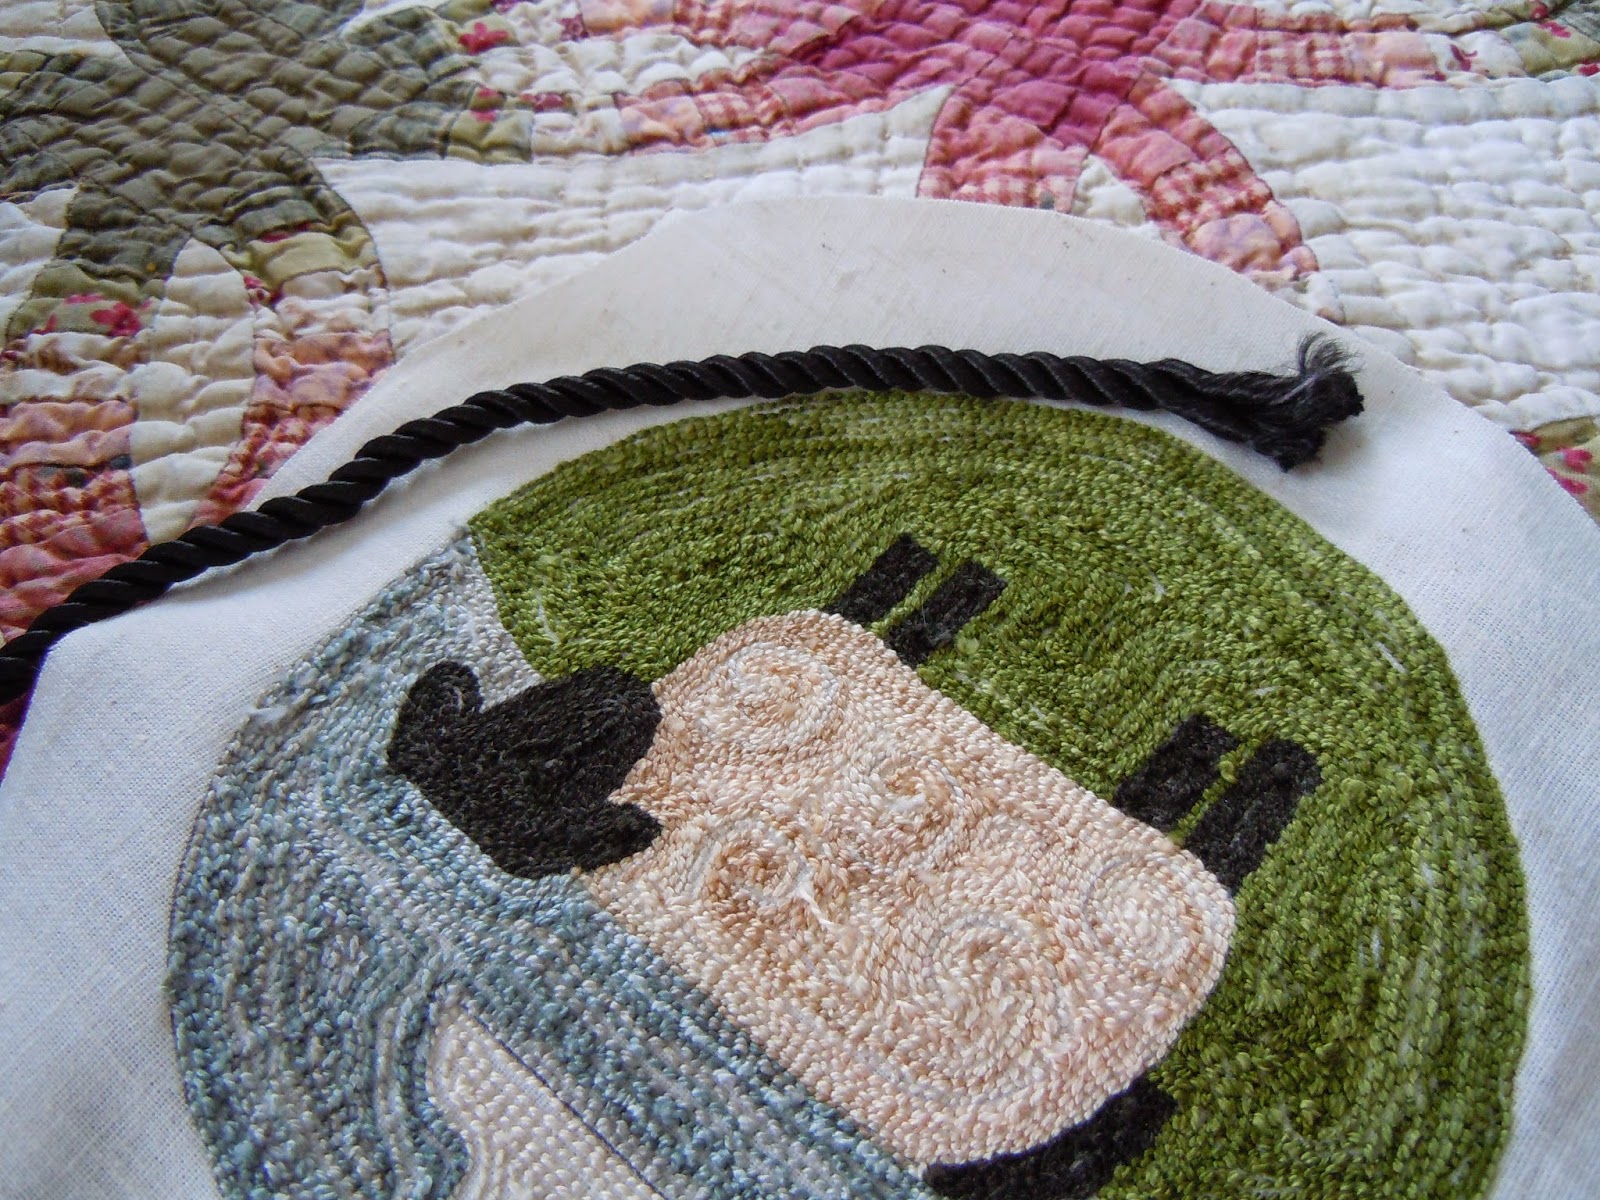
I first trimmed the weaver's cloth to about 1 1/2" away from the outer punched edge.

I then took a piece of scrap cording that I use for whipping the edges of my hooked rugs...anything similar will work just as well because you're not going to see it... to use as the "piping" for the outside edge. The width of the cording will determine the size of the finished whipped edge.
Working from the reverse side and using just your fingers to hold the cord in place as you travel along the perimeter,
baste the cording as close to the outside edge as you can, easing the fabric as you proceed, all the way around.
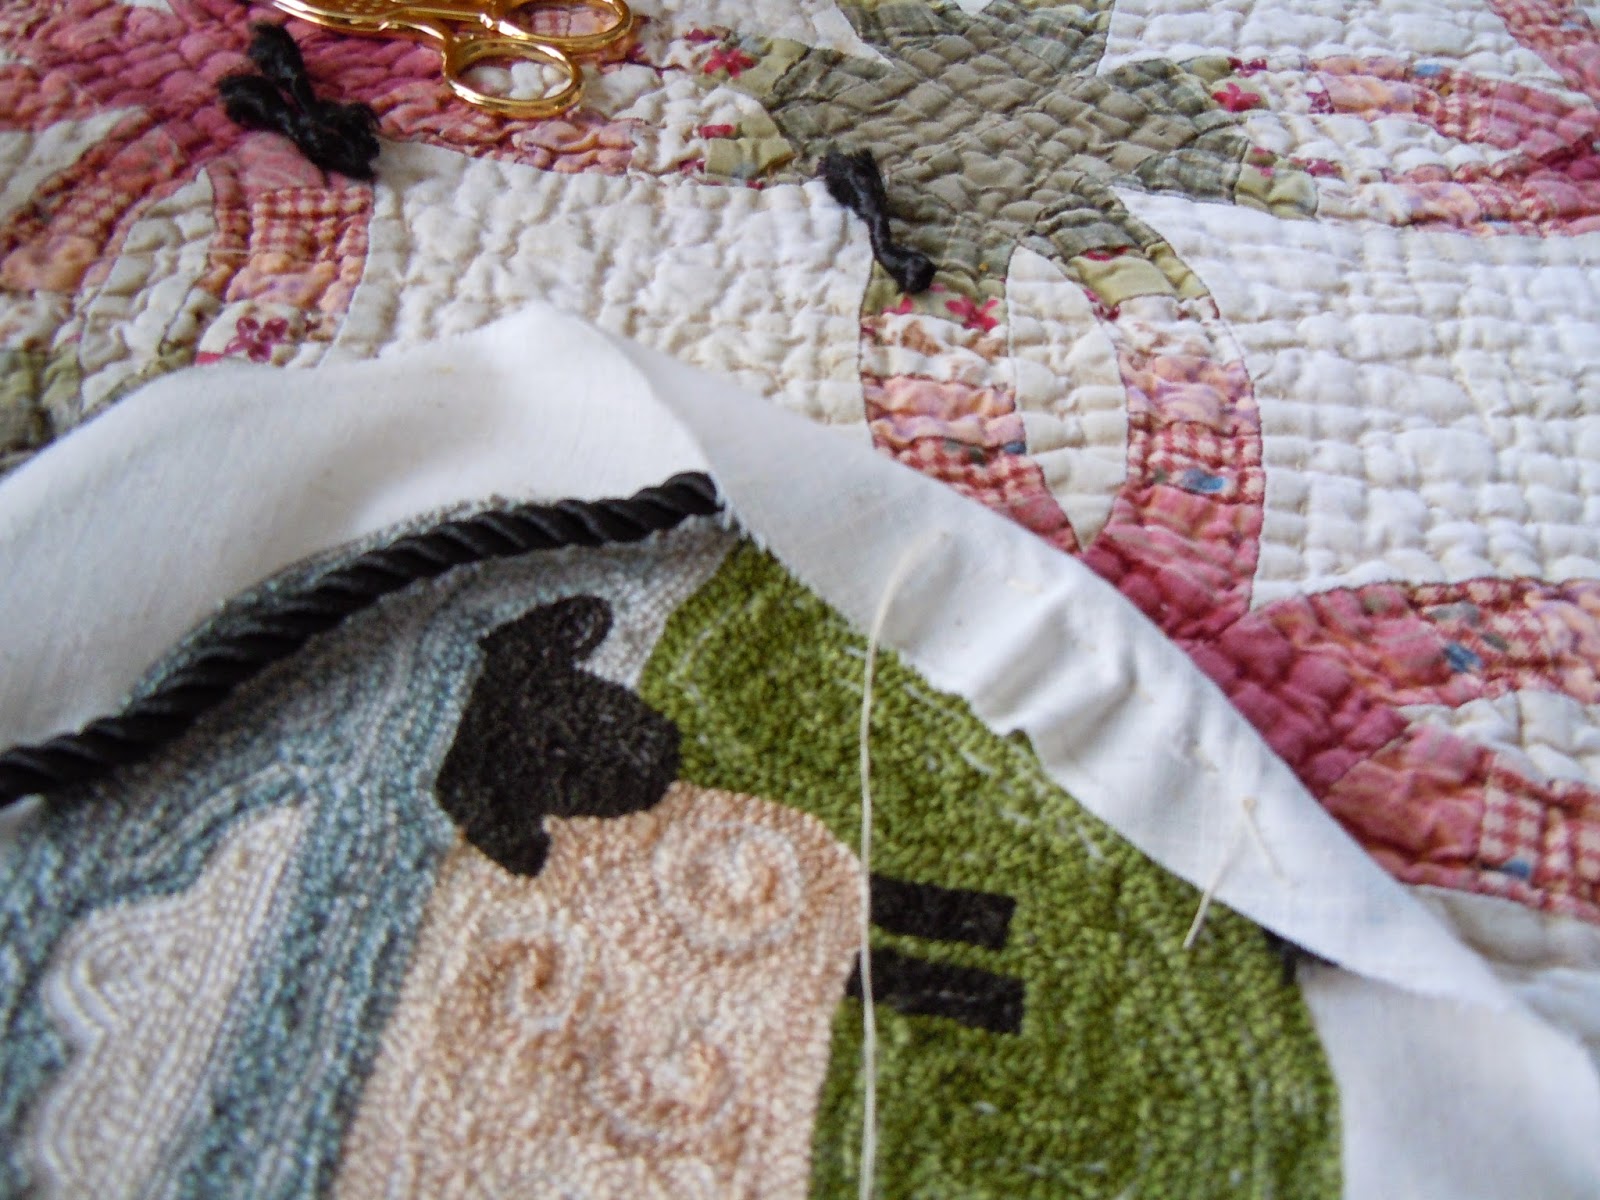
When you get to where the two ends of the cording meet, trim them so that they butt together and bind off.

Using all six strands of floss and a # 22 or 24 chenille needle, whip stitch around the cording, coaxing the theads to butt up and lie against one another so that the background doesn't show through. I find it easier to work from the right side as I have better control as to where to place my needle.
I used a variegated, hand-dyed Valdani floss for this step.
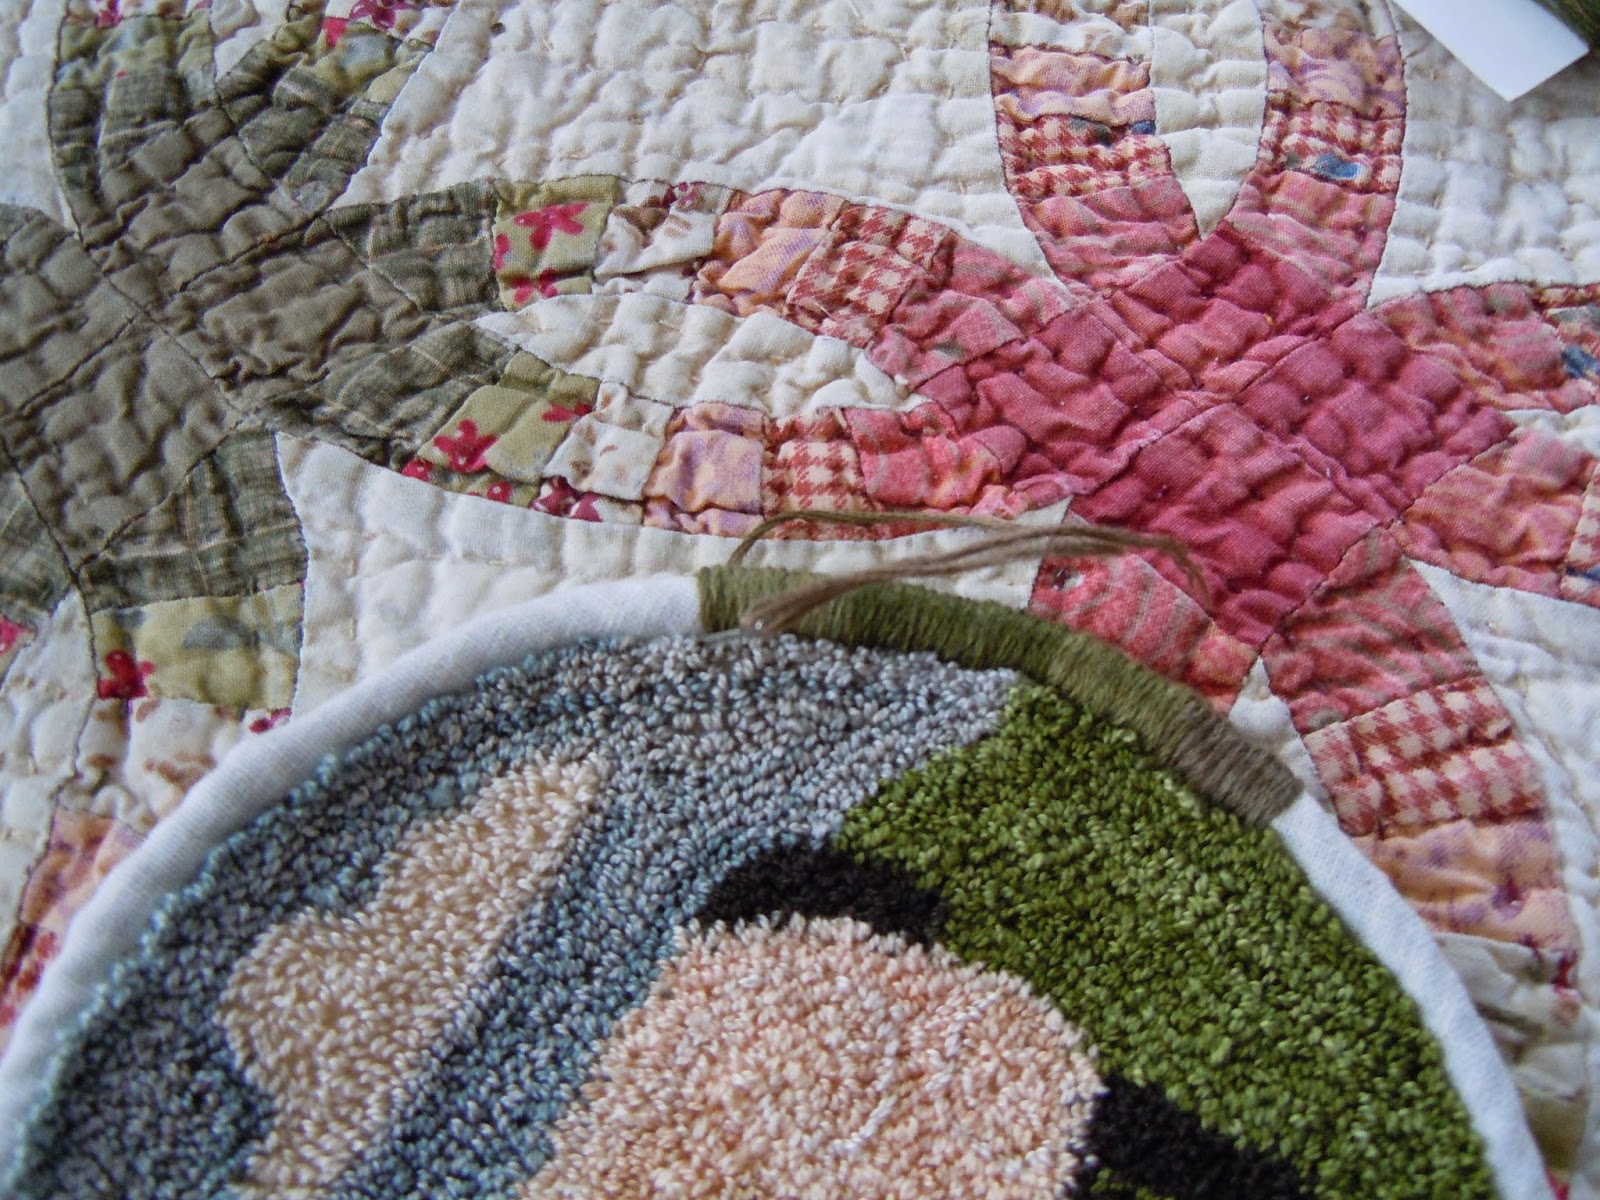
This is how it looks on the reverse side when finished...

and this is the top or "good" side.
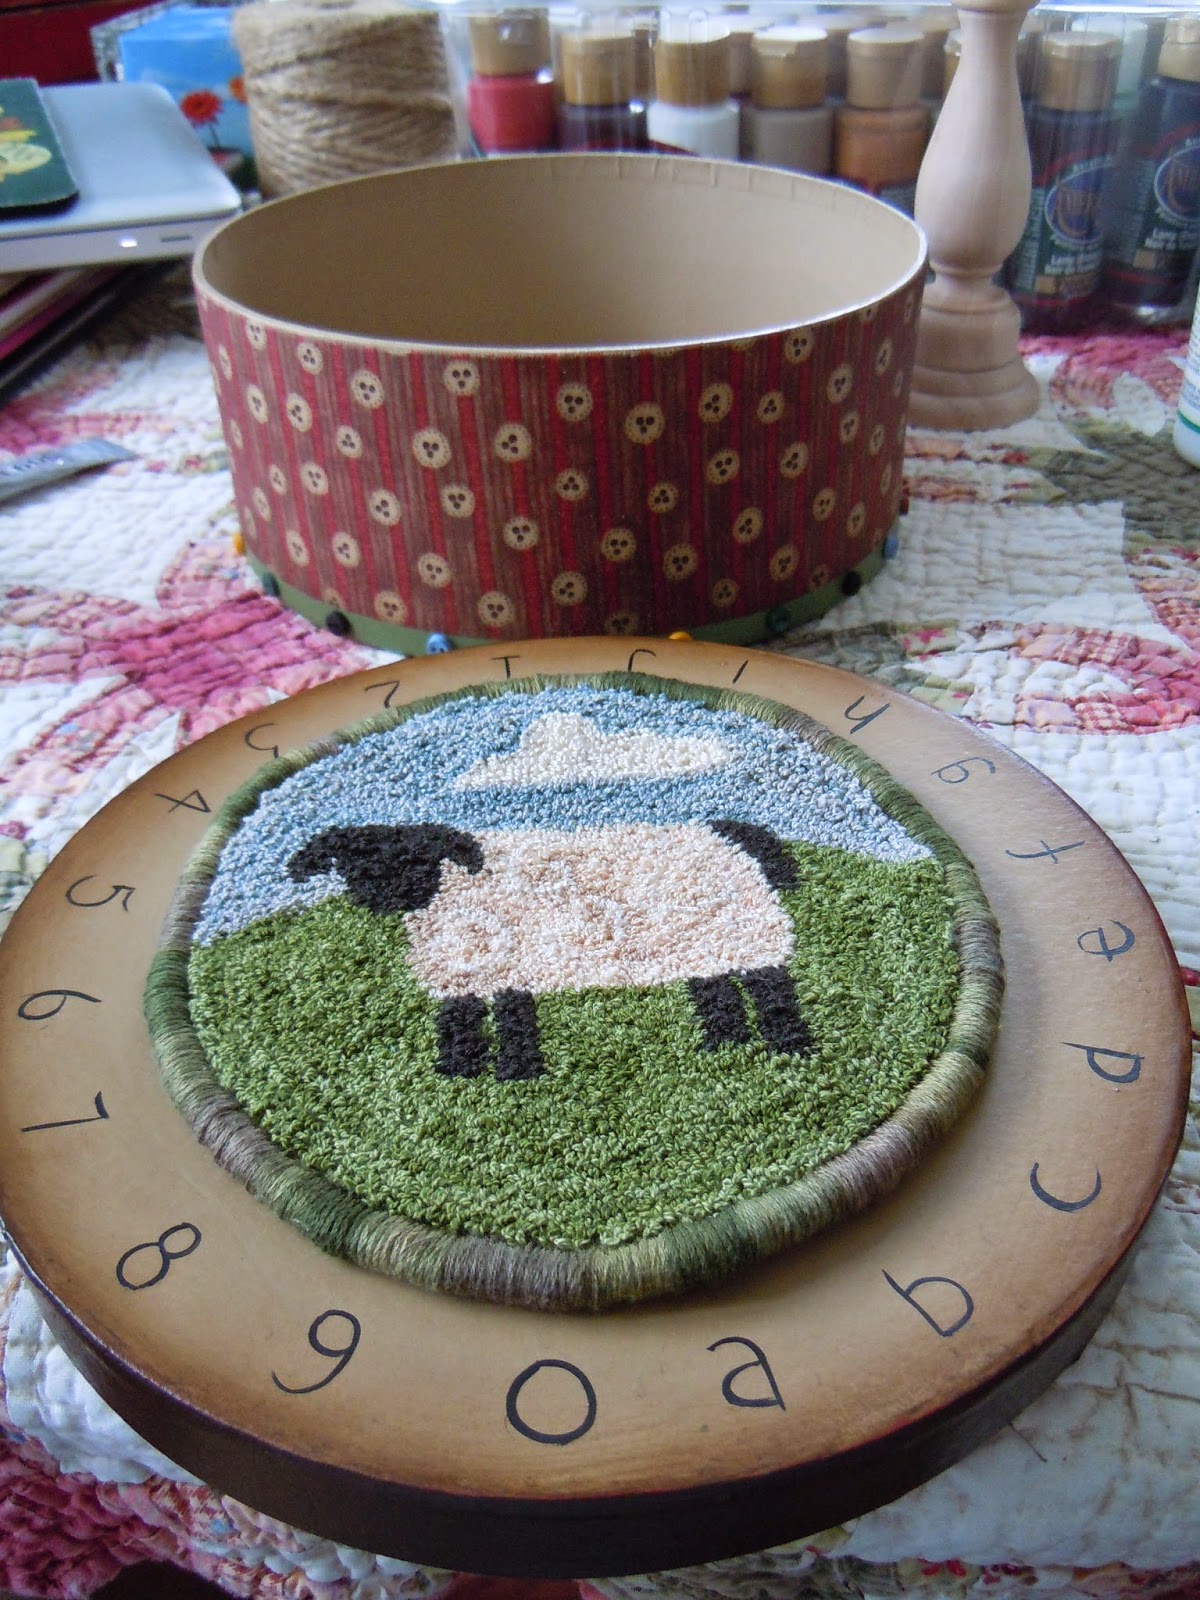
I decided to use my finished design to adorn an 8" x 3" papier mache box that I purchased from a local craft store a couple of years ago. Actually, any size will do. This just happened to be the size I found in my stash.

I gathered my paint brushes, craft paint, water based varnish, some scrap fabric and was good to go.

First I painted the outside lid a light tan color and added some dark brown shading around the outside edge. At the same time, I painted the outside rim with the same dark brown.

I then cut a piece of fabric the width of the box and just long enough to go all the way around and allowed for a slight amount to overlap.
Using a sponge brush and the water based varnish which I diluted with water at a ratio of about 1:1, I 'painted' on the varnish first onto the side of the box, laid the fabric on top of the wet varnish and then coated the fabric with more of the varnish, working my way around the entire perimeter of the box, smoothing out the bubbles as I proceeded.
Although I've never used it, I would imagine that you could always use a product like "Mod Podge" to get the same or similar results.

I then allowed it to dry then lightly sanded it. I painted a 1/2" rim around the bottom and at the same time, painted the bottom of the box with the same color. To get a nice clean edge, I used Scotch Brand Magic Tape to tape off the upper edge of the band to be painted.

After the paint dried, I glued on some buttons, just to add some color and interest.
I also painted some numbers and letters around the perimeter of the lid. If you feel that you can't paint the letters or numbers, you can always use a Micron Pigma permanent pen and 'write' them on instead!

To add a little more color, I painted the inside lid of the box red,

then centered the punch needle design and glued it to the lid.
I wanted to line the inside of the box so I used the bottom of the box as my template then traced a circle onto a piece of cardboard. I cut it about an 1/8" inside the drawn line and used it as my guide to cut out a piece of batting.
I cut the fabric about 3/4" larger than the template,
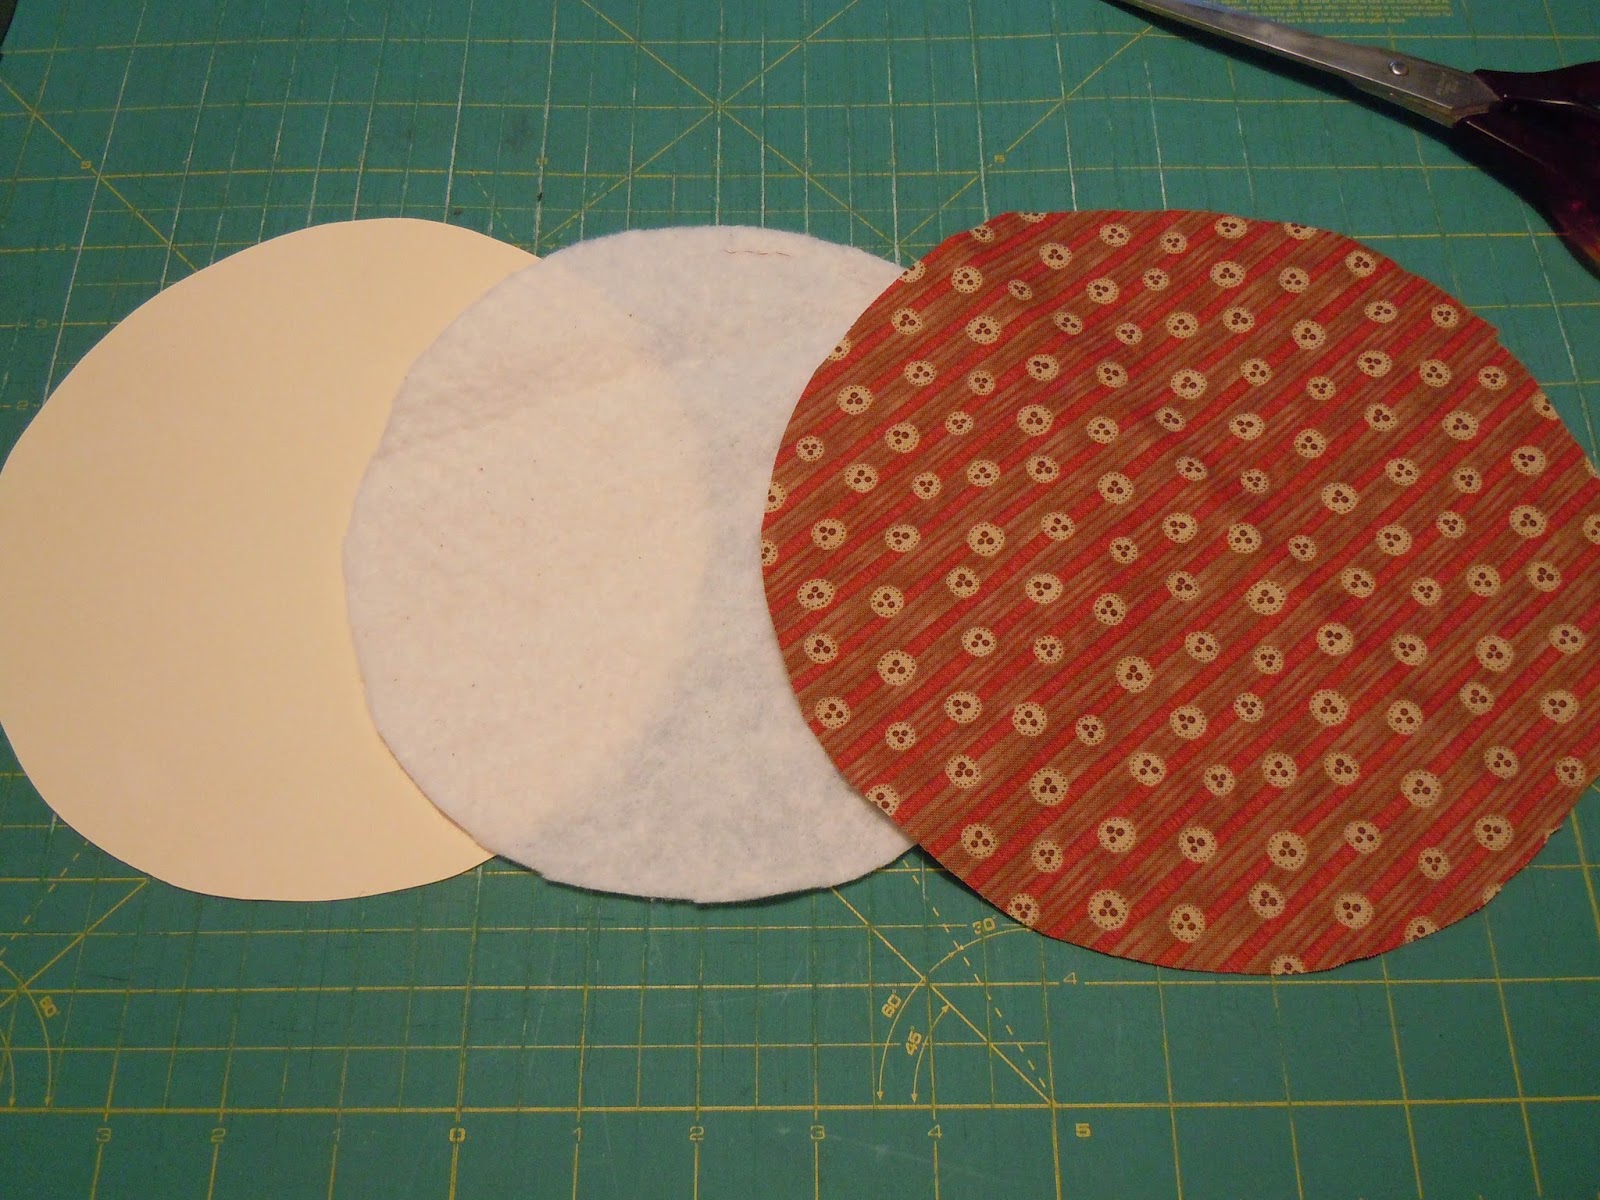
then sandwiched the three layers together.
First came the fabric, right side down, then the batting and lastly, the cardboard template. I used a glue gun to secure the fabric to the cardboard.

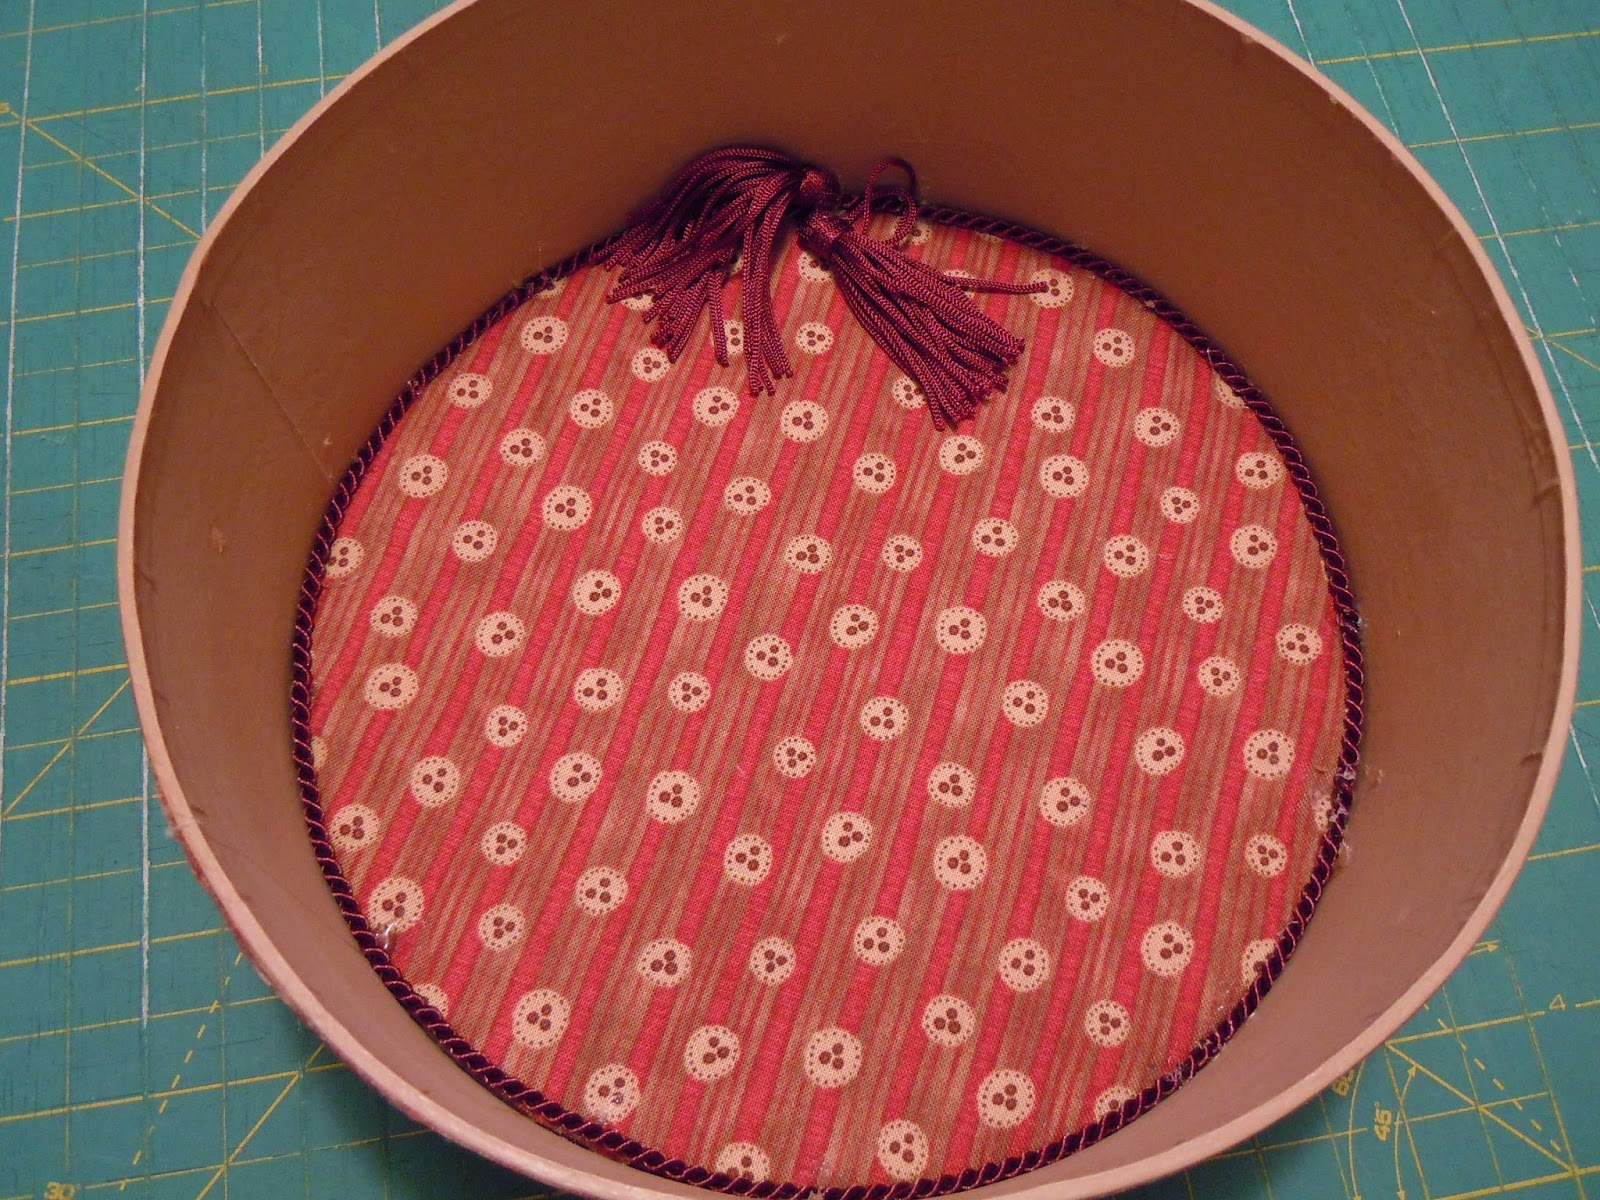
I laid it into the bottom of the box...

and then hot glued a piece of fancy cording around the perimeter to hold it in place.
You can also use rick rack, decorative ribbon or even lace in lieu of the cording.
And voila...your finished box!
Don't you think that these would make wonderful gifts?
And if you'd like to use the same thread that I used, I sell sets of both the Valdani 12 wt thread and and 6 strand floss in my Etsy shop HERE.
Click HERE if you'd like to download my line drawing for the little sheep.

Have fun and enjoy!
Happy stitching!

15 comments:
Great tut. I like that you are so thorough in your explanations. Thanks
So cute! And so tempting to join in the fun, but I always go overboard with any hobby I try. I don't dare dip my toe in this water! : )
Thanks for the great tutorial. I have all the tools so I must give your project a try. It's so cute.
you have transformed a plain little box into a work of art beautiful
So cute! I worked for a vender at the Quilt Expo in Spain years ago who sold Russian needle punch.. I had ample supplies to make this however it really bothered my wrist so I gave everything away. I enjoy the pieces my friends have sent me.
Did I miss the post on your mini quilts?
Happy Holidays!
Lovely lovely!
Thanks for sharing how you finished it.
The letters and numbers are the perfect touch
Thank you Kaaren for the tutorial and all the pictures that came with it.
I actually have the same fabric you have covered the box with, that must be a sign.
Greetings,
Sylvia
Thanks for sharing. I have done it but didn't like the results. One thing I already learned was using the weaver's cloth. One of my problems was the floss not adhering to cloth and popping back out.
Oh, Kaaren - you have created the most special box I've seen in a long time! All the little extra touches (especially inside the box) do make it the perfect gift. Now, where is my punch needle kit? I know it's tucked away unused somewhere!
Cheers!
Merci pour le partage, j'aime beaucoup votre idée :)
Kaaren, I'm always amazed at your creativity and design esthetic. When you first shared your finished piece I didn't realize that you had created the box design. I'm doublely impressed.
Thanks for sharing your process.
Thanks for a great tutorial Kaaren - I've used this technique for my hooked rugs but never thought of using for punch needle too - why not?
Thanks for the great tutorial Kaaren. It's so cute and I Try to do this beautifull sheep in punchneedle with this box.
Have a great day.
Thanks for the great tutorial. I just might have a round box in my stash somewhere :)
Great tut. I've never finished my punch needle as you just did. I love your finish and I plan on giving it a try with the box too. As a suggestion...could put a tab or some way of saving your information as a reference making it easy to find again at a later date. Thank you & Happy Holidays! Debby (Wisconsin)
Post a Comment